Last updated November 21, 2026
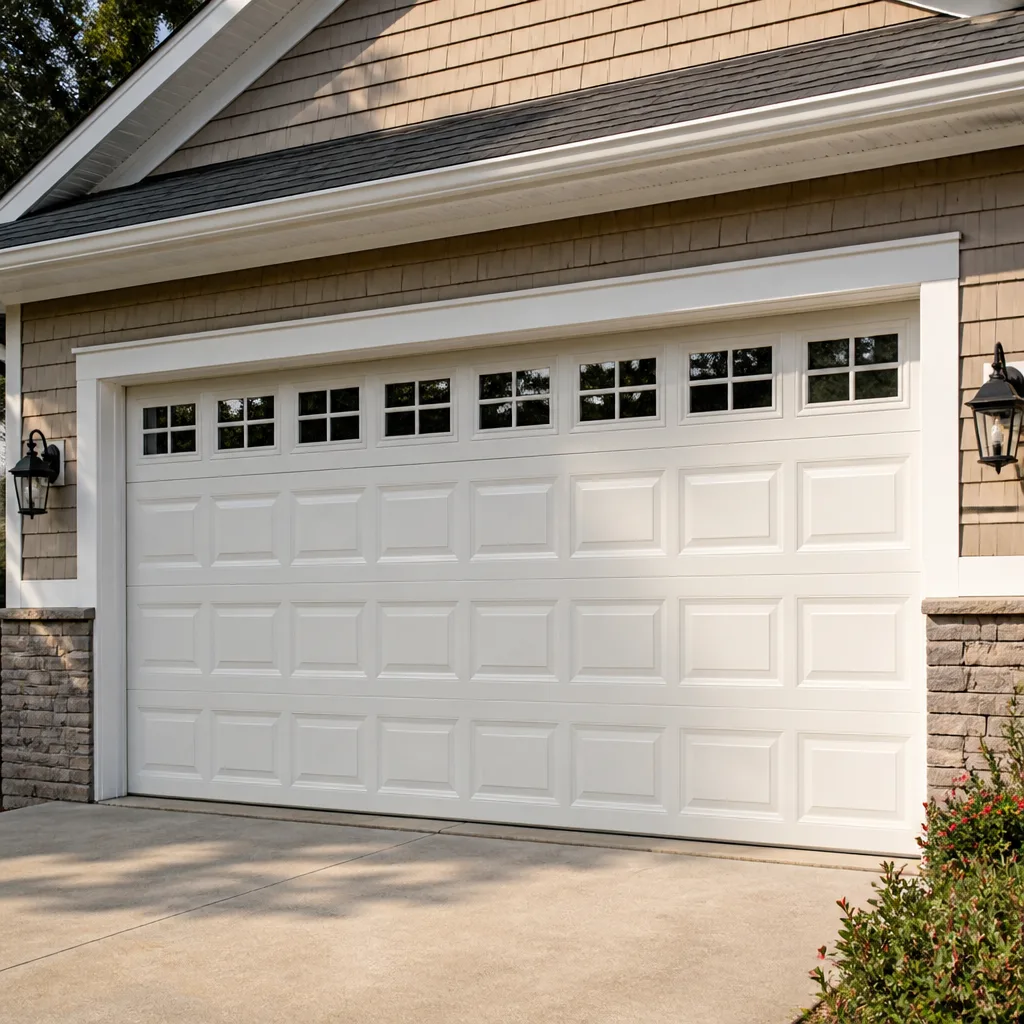 Raised-panel steel
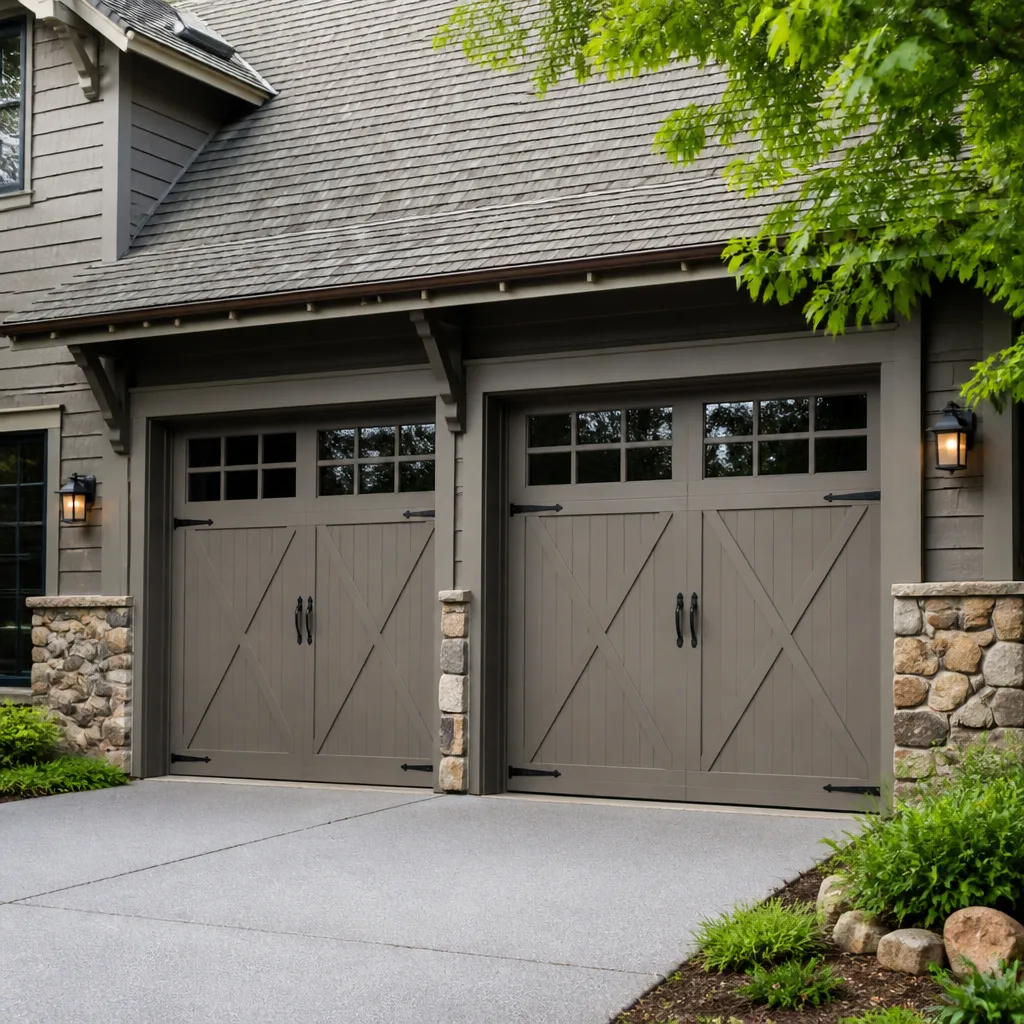 Carriage house
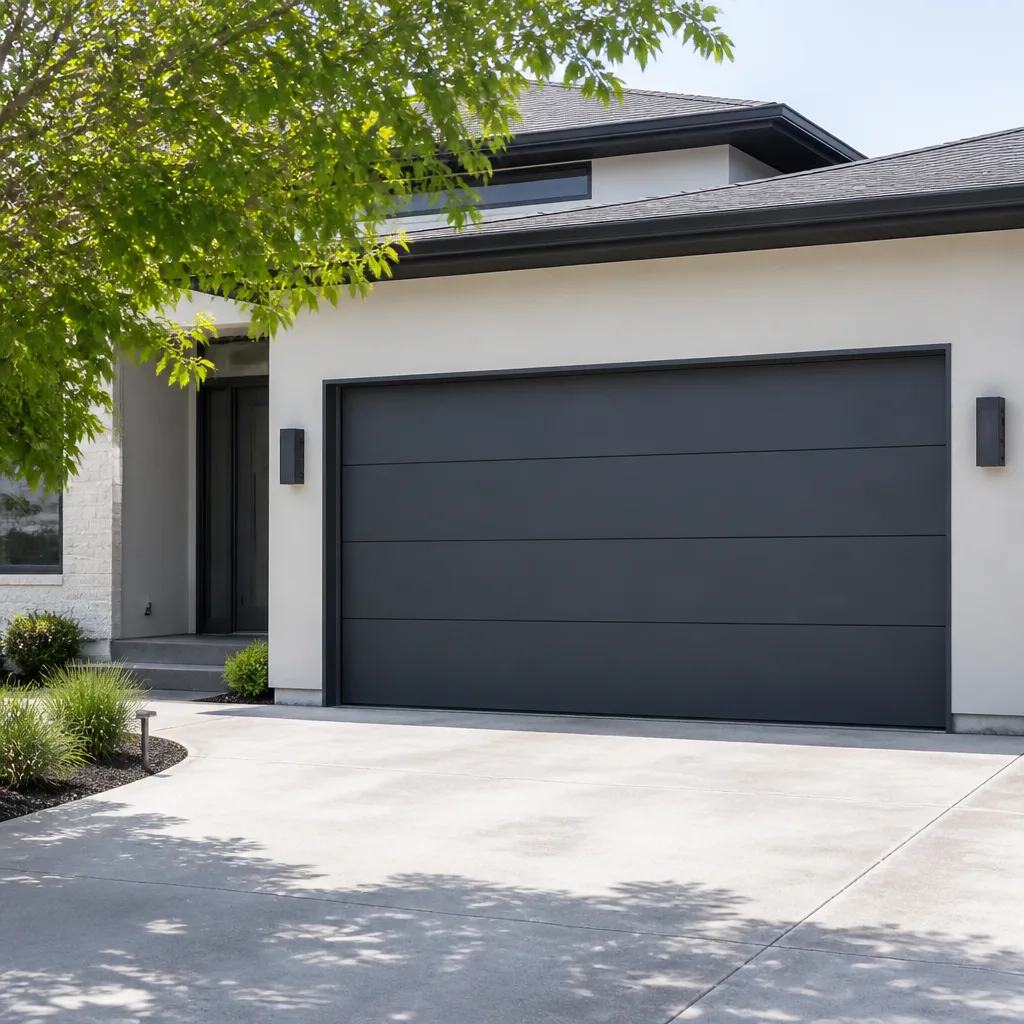 Modern flush
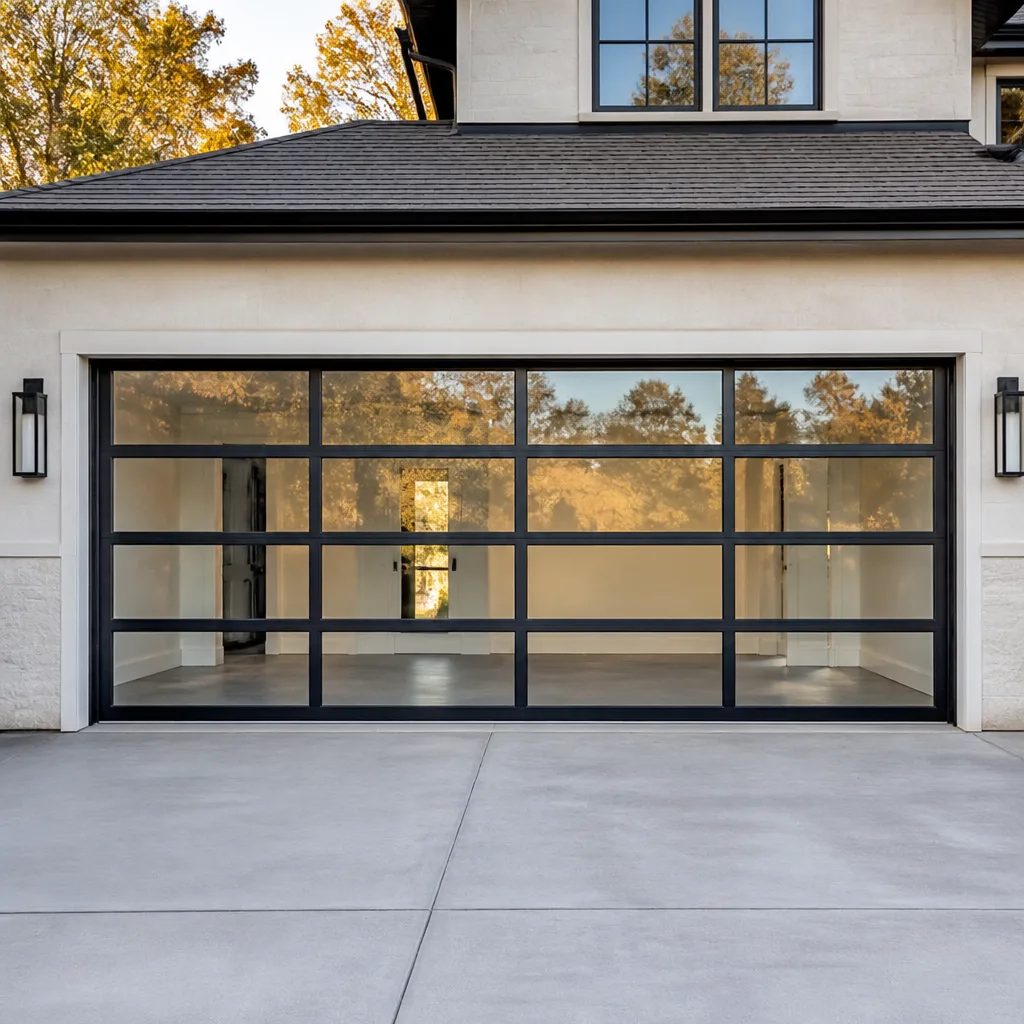 Full-view glass
 LiftMaster openers
 Chamberlain openers
Full 25-point door and opener safety check with every visit - springs, cables, rollers, tracks, and your LiftMaster or Chamberlain opener included
You get a price before we start. It does not change when the pro arrives.
Get your free estimateGarage Door Repair Maintenance Checklist for Longfellow Homeowners
Lubricating your garage door springs with WD-40 is one of the most common DIY maintenance moves in Longfellow, and it does the opposite of what people intend. WD-40 is a solvent, not a lubricant. It strips the factory grease out of a torsion spring’s coils and leaves bare steel behind, which is exactly where rust starts. What follows is a checklist built around that kind of detail: what you’re feeling for, what you’re listening to, and what the numbers from a balance test actually mean. You’ll get a 20-minute inspection you can run without tools, the right lubricant for each component, and a clear line between what’s safe to touch and what isn’t. Every item is written for a Longfellow garage, which means Minnesota winters are part of the protocol, not an afterthought.
Quick Answer
A garage door maintenance checklist for Longfellow homeowners covers six things: a visual pass on springs, cables, rollers and tracks; a listen-and-feel test on the opener; a manual balance test with the opener disengaged; lubrication with the correct product for each component; weather seal and threshold checks before the first freeze; and a safety reverse test. Most of it takes about 20 minutes and needs no tools. Spring tension adjustment, cable replacement and anything involving the torsion bar are not on the DIY list at any skill level.
Styles & brands we work with
- Raised-panel steel
- Carriage house
- Modern flush
- Full-view glass
- LiftMaster openers
- Chamberlain openers
Table of Contents
- The 20-Minute Component-by-Component Inspection Sequence
- Which Lubricant Goes Where (And Why They Aren’t Interchangeable)
- How to Run a Door Balance Test and Read the Results
- Minnesota Winter Prep: Threshold Seals, Bottom Seals and Cold Track Gaps
- Opener Checks: What Your Model Number Tells You
- What’s DIY-Safe and What Requires a Technician
- A Seasonal Schedule That Fits a Longfellow Year
The 20-Minute Component-by-Component Inspection Sequence
Work from the top of the door down and from the inside face out. That order matters because a problem higher up changes what you’ll see lower down, and checking the floor first will have you chasing symptoms instead of causes. Do this with the door closed and the opener disengaged if you can reach the release cord safely.
- Torsion spring (the horizontal one above the door): Pass if the coils are evenly spaced, dry, and free of rust bloom. Fail if you see a visible gap in the coil, orange-brown rust along the length, or the door feels extremely heavy when you lift it by hand. A gap means the spring has broken.
- Extension springs (the ones running along the horizontal tracks, if you have them): Pass if the springs are straight and the safety cables run through the center. Fail if a spring is stretched unevenly or the safety cable is slack or missing.
- Cables: Pass if both cables are taut, seated in their drums, and free of fraying. Fail on any broken strand, a cable lying loose against the door, or a drum with cable wound over itself.
- Rollers: Pass if each roller spins freely and the wheel is round. Fail if a roller is flat-spotted, wobbly on its stem, or grinding. Nylon rollers usually outlast steel ones in cold climates.
- Hinges: Pass if the hinge plates are flat against the panel and the pin moves. Fail if a hinge is bent, the metal is cracked at the screw holes, or the door sags at one joint.
- Tracks: Pass if the vertical and horizontal tracks are parallel and the gap to the door edge is even top to bottom. Fail on dents, a track that’s been bumped out of line, or a visible gap change at one height.
- Panels: Pass if panels are flat and joints are tight. Fail on cracks, separation at a stile, or a bottom section that’s been pushed in.
- Weather seal and threshold: Pass if the bottom seal touches the floor along its full width. Fail on daylight, a flattened seal, or a threshold that’s lifted or cracked.
Nothing on that list requires a tool beyond your hands and eyes. What it requires is knowing what “pass” actually looks like, which is why a checklist that only says “check for wear” is theater. In Longfellow, the failure point to watch most closely is the bottom section and its seal, because that’s where snow, ice melt and plow spray do their work. If the inspection turns up something that needs fixing, our Garage Door Repair Longfellow page covers how we handle each of these components.
Which Lubricant Goes Where (And Why They Aren’t Interchangeable)
Lithium grease, silicone spray and 3-in-1 oil are three different tools and they do not substitute for each other. Putting the wrong one on a component either attracts grit, strips existing lubrication, or does nothing at all. Here’s the mapping we use on every door.
- Torsion spring and extension springs: A light spray lubricant made for garage door hardware, applied sparingly to the coils. Never WD-40. Never grease. The goal is a thin film that keeps moisture off bare steel without collecting dust.
- Hinges and roller stems (the metal pivot points, not the wheels): Lithium grease or a garage-door-specific spray. These are high-friction metal-on-metal joints and they want something with body to it.
- Rollers (the wheels themselves): Silicone spray only, and only if they’re the sealed-bearing type. Steel rollers with open bearings take a drop of light oil. Nylon rollers usually need nothing.
- Tracks: Nothing. Tracks should be wiped clean with a dry cloth. Lubricant on a track turns into a paste that grabs grit and wears the rollers faster.
- Weather seal and bottom seal: A silicone-based protectant, not oil. Oil breaks down the rubber and EPDM compounds these seals are made from.
- Opener rail and chain: The manufacturer’s specified lubricant, which for most LiftMaster and Chamberlain units is a light chain lube, not grease.
The WD-40 confusion is worth naming directly, because it’s the single most common mistake we see in Longfellow garages. WD-40 displaces water, which sounds like exactly what a spring needs in a wet climate. But it also dissolves the protective film and evaporates, leaving the steel drier than it started. A door that gets a proper light spray twice a year will outlast one that gets WD-40 every month.
How to Run a Door Balance Test and Read the Results
A balance test tells you whether your springs are still carrying the door’s weight or whether the opener has been doing that job for you. Do it with the door closed and the opener disengaged.
- Pull the release cord to disconnect the opener carriage from the door. Do this with the door fully closed so nothing moves unexpectedly.
- Lift the door by hand to about waist height. It should feel manageable, roughly what a grown adult can raise with one hand.
- Let go at waist height. A balanced door stays put, or drifts less than a few inches in either direction.
- Lift to shoulder height and let go. Same test.
- Lower to knee height and let go. Same test.
- If the door drops on its own, the springs are under-tensioned or fatigued. If it rises on its own, they’re over-tensioned.
- Reengage the opener by running it until the carriage reconnects, then test the door once more with the opener.
Here’s what the numbers mean. A door that holds at all three heights has springs with life left in them. A door that falls from every position is being lifted almost entirely by the opener motor, which shortens the opener’s life and signals that the springs are near the end. A door that holds at some heights but not others usually points to one broken spring in a two-spring setup (both should be replaced together, since a matched pair is what keeps the door level) or to a roller or track problem rather than a spring problem.
The test tells you that something is wrong. It cannot tell you how many cycles a spring has left, and no visual inspection can. What you can do is track it: run the test twice a year and note whether the door is holding at fewer heights than it did last time. That trend is more useful than any single reading. If it’s degrading, that’s when to call for garage door repair rather than waiting for a spring to snap.
Minnesota Winter Prep: Threshold Seals, Bottom Seals and Cold Track Gaps
National checklists skip the three items that matter most in a Longfellow winter. A door that seals perfectly in July will leak cold air in January if the threshold and bottom seal haven’t been set up for freeze-thaw cycles.
Threshold seal compression
Look at where the bottom rubber meets the concrete. The seal should compress slightly along its full width. If you can see daylight, or if the rubber is touching but not compressing, cold air and snow find that gap. A lifted or cracked threshold is a concrete repair, not a door repair, and the door seal can’t fix it. Test it by sliding a piece of paper under the closed door along its width. Where the paper slides freely with no drag, you have a gap.
Freeze-resistant bottom seal material
Standard vinyl bottom seals stiffen and crack when temperatures drop consistently below freezing. EPDM and other rubber compounds stay flexible longer and handle the ice that builds up at the threshold. If your bottom seal has gone hard and brittle, it will crack along the fold line by midwinter. Replace it with a rubber or EPDM seal before the first hard freeze rather than after. This is one of the few replacement jobs a homeowner can usually handle with basic tools, because the bottom seal slides out of its retainer and back in.
Cold track gap tolerances
Metal contracts in cold. A track that’s set correctly in summer can develop a tighter gap to the door edge by January, and that’s when you hear scraping or see the door binding on one side. Check that the gap between the door edge and each vertical track is even top to bottom. If it’s tighter at the bottom than the top, or tighter on one side than the other, the track needs adjustment. Don’t force it with a hammer; a bent track is a bigger problem than a tight one. This is where a technician with a proper gauge and a straightedge saves you a panel. Doors and openers from Clopay and LiftMaster are common in Longfellow garages, and both publish cold-weather tolerances for their track systems that a generalist won’t know to look up.
Opener Checks: What Your Model Number Tells You
Your opener has a model number on the back panel or under the light cover, and it tells a technician more than a photo of the unit ever could. The model number identifies the logic board, the drive type, the safety sensor generation and the parts that are actually available for it. That’s the difference between a proper diagnosis and a guess.
- Safety reverse test: Place a solid object about the height of a roll of paper towels on the floor under the door and close it. The door should reverse on contact. If it doesn’t, the opener’s force setting or the sensor alignment is off, and that needs fixing before anything else.
- Photo-eye alignment: Both sensor lights should be solid, not blinking. A blinking light means misalignment or a wiring problem, not a dead sensor.
- Force settings: If the door reverses halfway up on its own, the opener is reading resistance. That can be a force setting, but it’s more often a binding door, and adjusting the force to compensate is masking the real problem.
- Chain or belt tension: A slapping or grinding sound from the rail points to a loose chain or a worn belt. LiftMaster and Chamberlain units use different tensioning specs.
- Remote and keypad range: Shorter range than usual usually means a failing logic board or interference, not a dying battery in every remote at once.
When an opener problem goes beyond a remote battery or a sensor wipe, garage door opener repair is its own specialty because the motor, logic board, remote and sensor systems each fail in different ways. Genie and Craftsman units in particular have board-level quirks that show up as intermittent behavior rather than a clean failure, and knowing the model saves a lot of guessing.
What’s DIY-Safe and What Requires a Technician
The line isn’t about how handy you are. It’s about stored energy. A torsion spring under tension holds enough force to cause serious injury, and the tools and technique required to release and rewind it aren’t things a homeowner should learn on their own door.
Genuinely DIY-safe
- Wiping tracks clean with a dry cloth
- Lubricating hinges, roller stems, springs and the opener rail with the correct product
- Testing the safety reverse and photo-eye alignment
- Replacing the bottom seal if it slides out of a standard retainer
- Replacing remote batteries and re-pairing remotes
- Running the balance test and tracking results over time
- Clearing debris and ice from the threshold
Requires a technician regardless of skill level
- Any spring tension adjustment, including “just a little” to stop a door from dropping
- Torsion spring replacement, even when you’ve watched it done
- Cable replacement or re-spooling a cable on a drum
- Track realignment after a bump or a bind
- Hinge or panel replacement where the door has to come off its tracks
- Opener logic board or motor replacement
- Anything that requires the door to be raised and held in position by hand
If you’re not sure which side of the line something falls on, the safe default is to leave it. A door that’s slightly out of adjustment is a phone call. A door with a released torsion spring is an emergency. Our garage door installation service is the other end of the same conversation: when a door has been patched as far as it will go, replacement is a straightforward answer rather than a sales pitch. If a panel is bent beyond repair or the door’s structural frame is out of square, we’ll walk you through replacement as a straightforward option, not a hard sell.
A Seasonal Schedule That Fits a Longfellow Year
A checklist is only useful if it happens on a schedule. Here’s how we’d map it to a Minnesota year, with the two dates that matter most being the first hard freeze and the spring thaw.
- Early fall, before the first freeze: Full inspection sequence, bottom seal check and replacement if it’s gone hard, threshold compression test, track gap measurement, lubrication of springs and hinges. This is the most important pass of the year.
- Midwinter: Safety reverse test and a visual check for ice buildup at the threshold. Clear any ice that’s formed where the door meets the floor, since a door forced closed on ice can bend a bottom panel.
- Early spring, after the thaw: Recheck track gaps, since the metal expands back as temperatures rise, and re-run the balance test. Freeze-thaw cycles are when seals and thresholds show what the winter did to them.
- Early summer: Lubrication pass, roller check, opener force and sensor test, and a look at the spring coils for early rust.
Twice a year for a full pass, twice a year for a quick safety check, is enough for most Longfellow doors. A door that gets used a dozen times a day by a busy household will benefit from the lubrication pass more often, since every cycle wears the moving parts a little.
Common Mistakes to Avoid
- Spraying WD-40 on springs. It strips the protective film and leaves bare steel to rust. Use a light garage-door spray lubricant instead, and use it sparingly.
- Greasing the tracks. Lubricant on a track collects grit and wears rollers faster. Tracks get wiped clean, not greased.
- Adjusting the opener’s force setting to fix a binding door. That masks a track or roller problem and puts stress on the opener motor. Fix the bind, not the force.
- Replacing one spring of a matched pair. A new spring paired with a fatigued one puts uneven load on the door and usually means doing the job twice. Replace matched pairs together.
- Ignoring a bottom seal until January. A vinyl seal that’s gone hard will crack in the first cold snap. Replace it in fall, not after it fails.
- Forcing a frozen door open or closed. A door bonded to the threshold by ice can bend a bottom panel or snap a cable when the opener pulls. Clear the ice first.
- Treating the balance test as a one-time check. The trend across readings is the useful information. A door that held at three heights last spring and holds at one this fall is telling you something.
See the difference
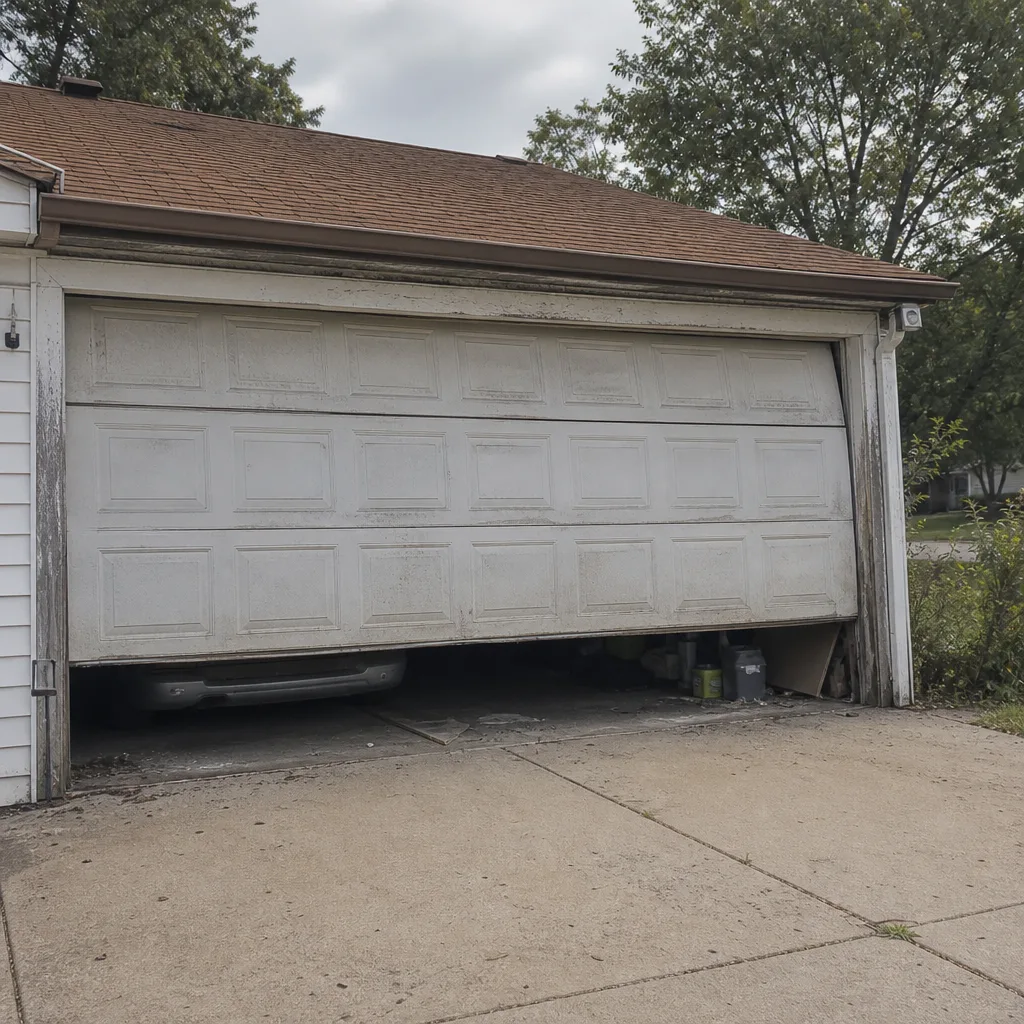 Before
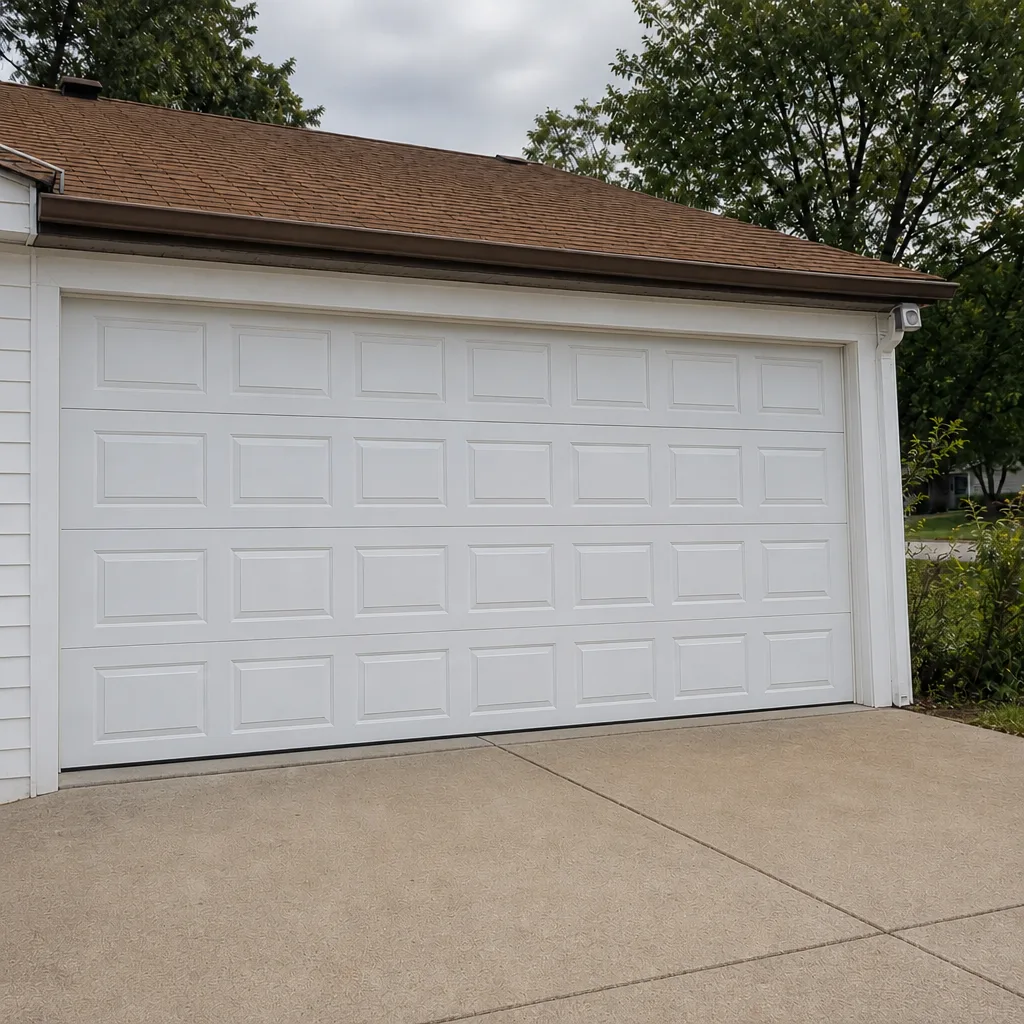 After
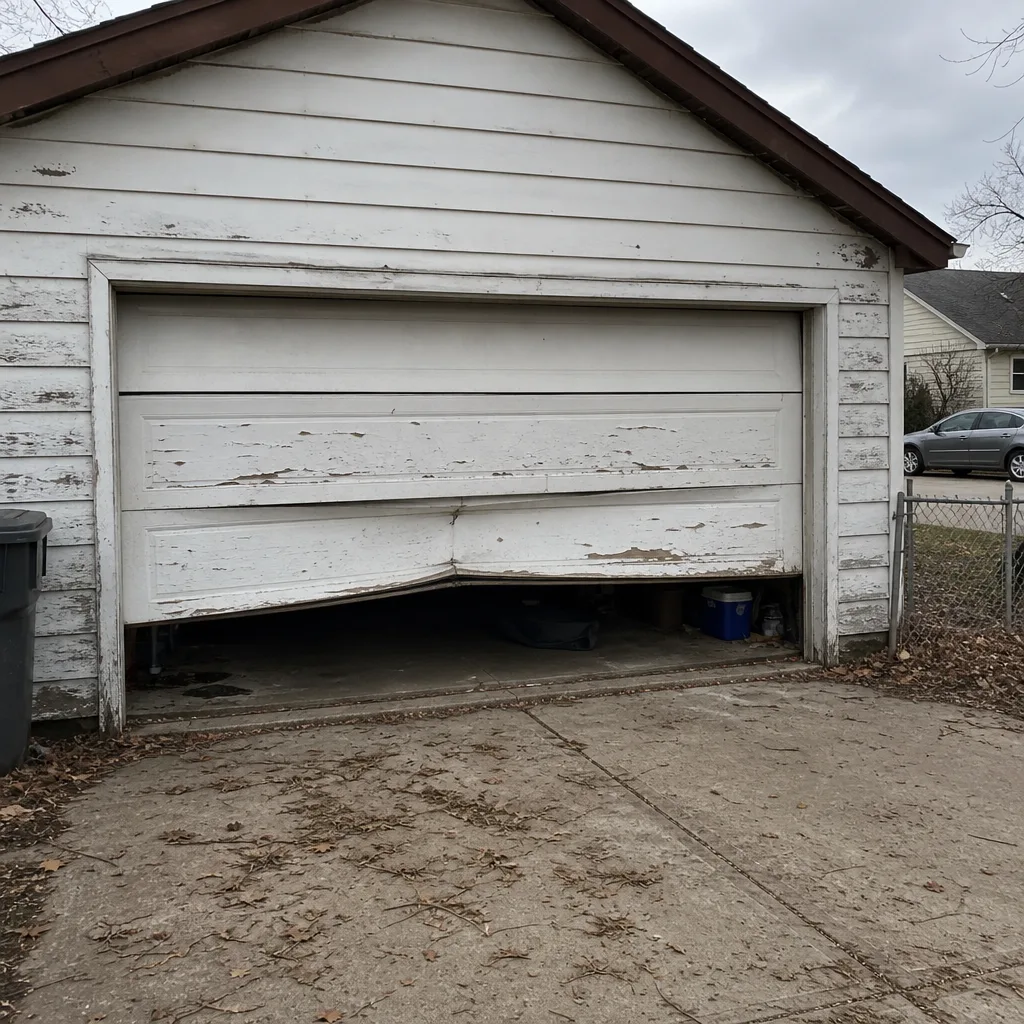 Before
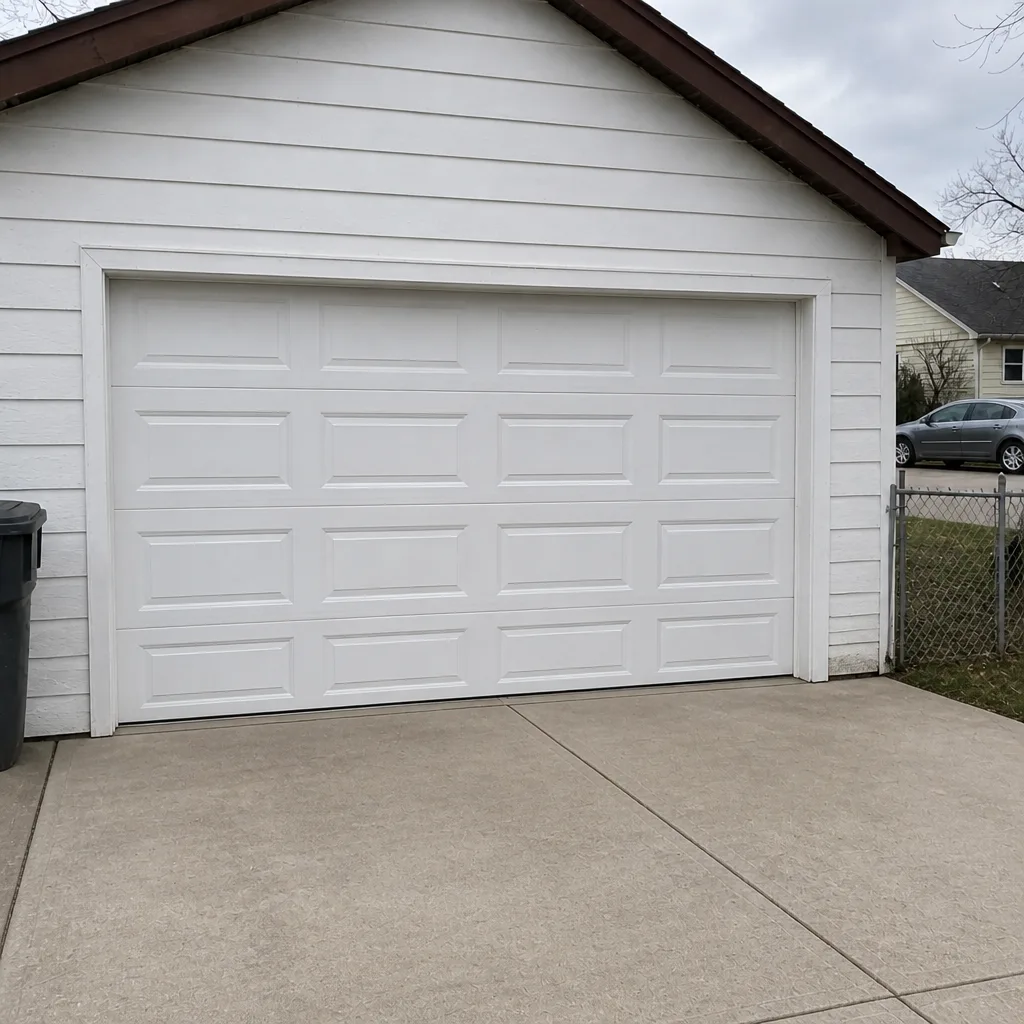 After
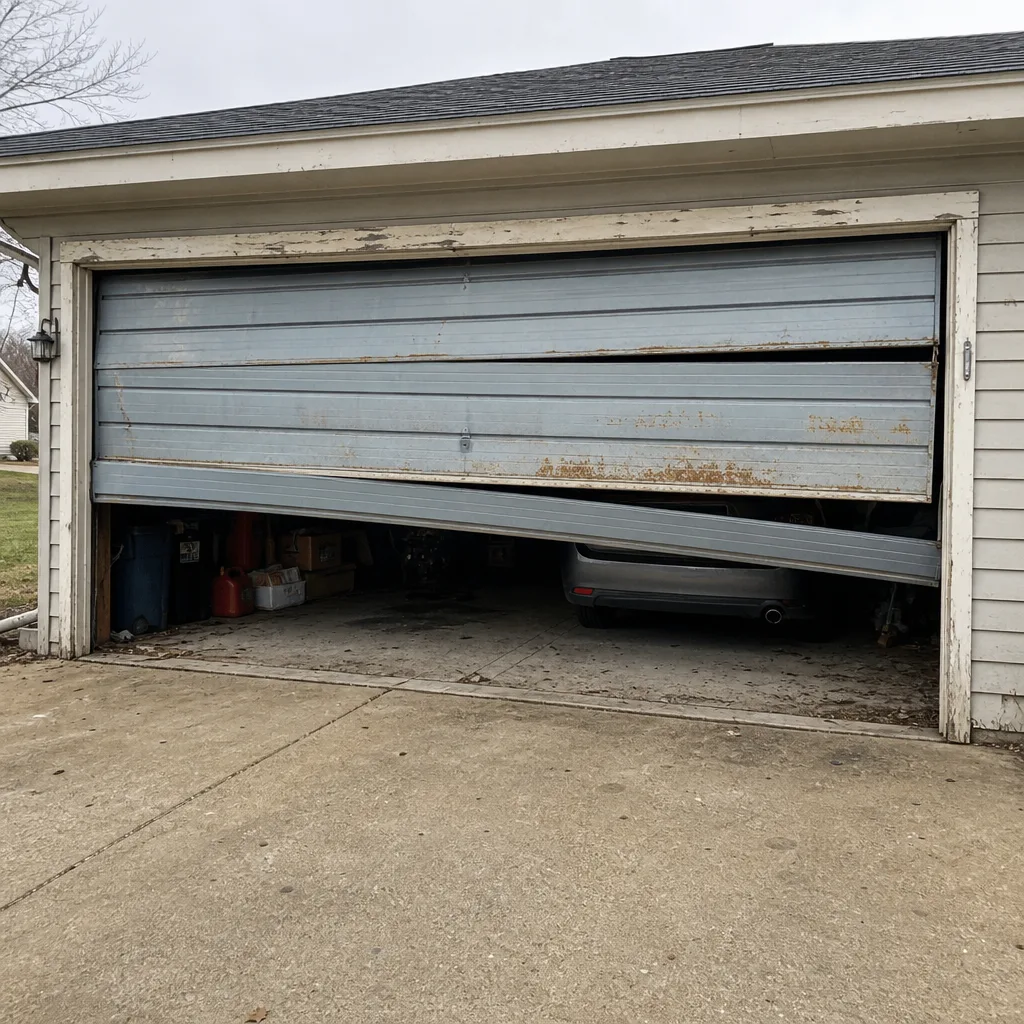 Before
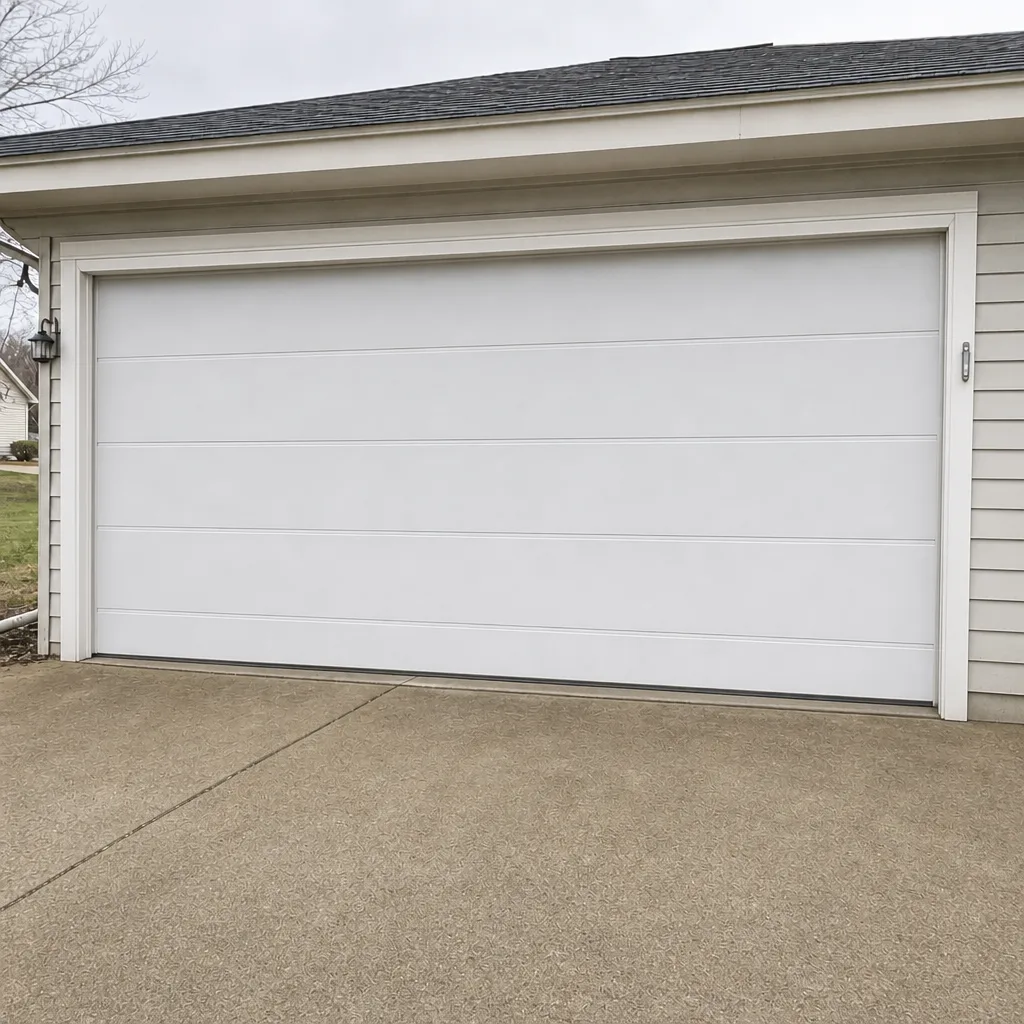 After
When to Call a Professional
Call when you see a gap in a torsion spring, a cable with broken strands, or a door that drops on its own during the balance test. Call when a track is bent, a panel is cracked, or the door binds at one height. Call when the opener reverses on its own, the photo-eyes won’t stay solid, or the door won’t respond to any remote. And call before you touch a tension adjustment, no matter how small. Garage Door Repair Longfellow offers free estimates in Longfellow and works on the brand you already have, across the eight most common residential door and opener brands. We handle spring repair as a dedicated service, opener repair as its own specialty, and full replacement when a door is past patching. Call (855) 658-4110 for a free estimate. The price is quoted and agreed before any work starts.
Frequently Asked Questions
Twice a year for the full inspection and twice more for a quick safety check. In Longfellow, the early-fall pass matters most because it’s your last chance to replace a hardened bottom seal and check track gaps before the first freeze. The spring pass after the thaw is the second most important.
Yes, with the right product, and it’s one of the few spring-related tasks that’s safe to do. Use a light garage-door spray lubricant applied sparingly to the coils, never WD-40 and never grease. Do not adjust tension, and don’t touch the torsion bar or wind any part of the spring.
It means the springs aren’t carrying the door’s weight and the opener motor is doing that work instead. That’s a sign of fatigued or under-tensioned springs. Don’t adjust the tension yourself; that’s a technician job. Have it checked, because a door in that condition is closer to a spring failure than one that holds.
The manufacturer’s specified chain lubricant, which for most LiftMaster and Chamberlain units is a light chain lube rather than grease. Grease collects dust on a chain and turns into a grinding paste. Check your model number before buying, since tension and lubrication specs differ between models.
Cold contraction tightening the gap between the door edge and the vertical track on that side. Check whether the gap is tighter at the bottom than the top, or tighter on one side than the other. If it is, the track needs adjustment. Don’t force it with a hammer, since a bent track is worse than a tight one.
Don’t run the opener. Clear the ice at the threshold by hand first, then open the door manually if you can disengage it safely. Pulling a frozen door with the opener can bend a bottom panel or snap a cable, and both are more expensive than waiting a few minutes for the ice to break free.
The Bottom Line
A maintenance checklist earns its place when it tells you what pass and fail actually look like, and this one is built to do that. Run the eight-point inspection twice a year. Match the lubricant to the component: light spray on springs, lithium on hinges, silicone on rubber, nothing on tracks. Use the balance test as a trend rather than a one-off. Prep the threshold, bottom seal and track gaps before the first freeze, because that’s where a Longfellow winter does the most damage. And leave the spring tension, cables and anything that stores energy to a technician, because the line isn’t about skill. If the checklist turns up something that needs fixing, or you’d rather have it diagnosed properly, call (855) 658-4110 for a free estimate.
Written by the team at Garage Door Repair Longfellow.